Types of Sanders for Cabinets: What Is The Best Sander For Cabinets

Choosing the right sander for your cabinet project can make a huge difference in the quality of your finish. There are many different types of sanders available, each with its own strengths and weaknesses.
Orbital Sanders
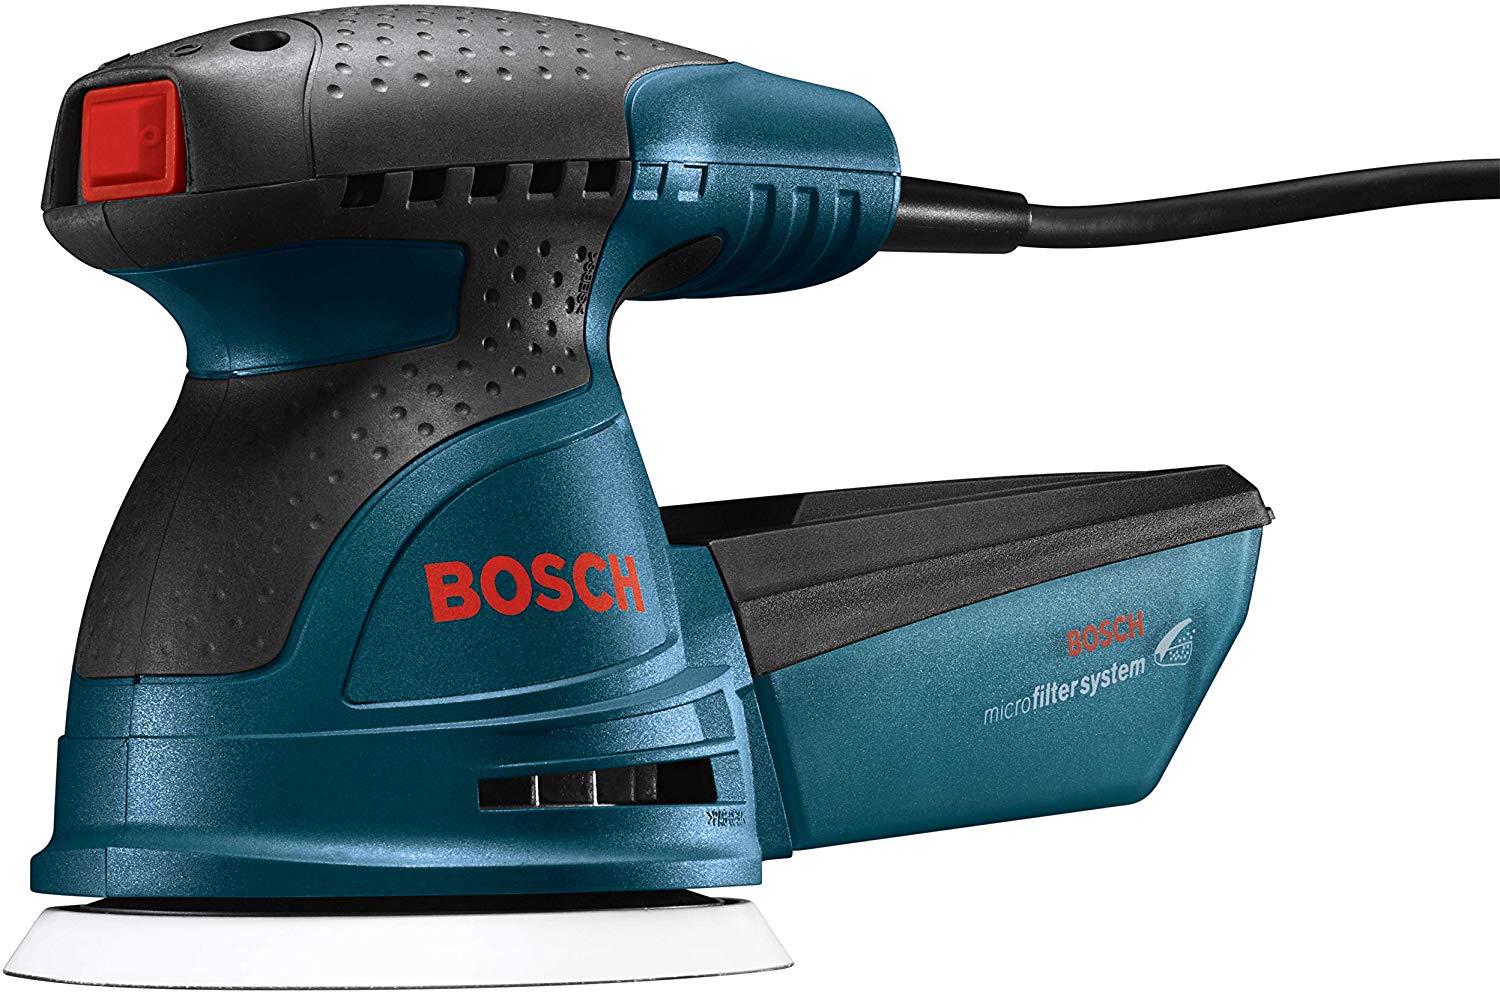
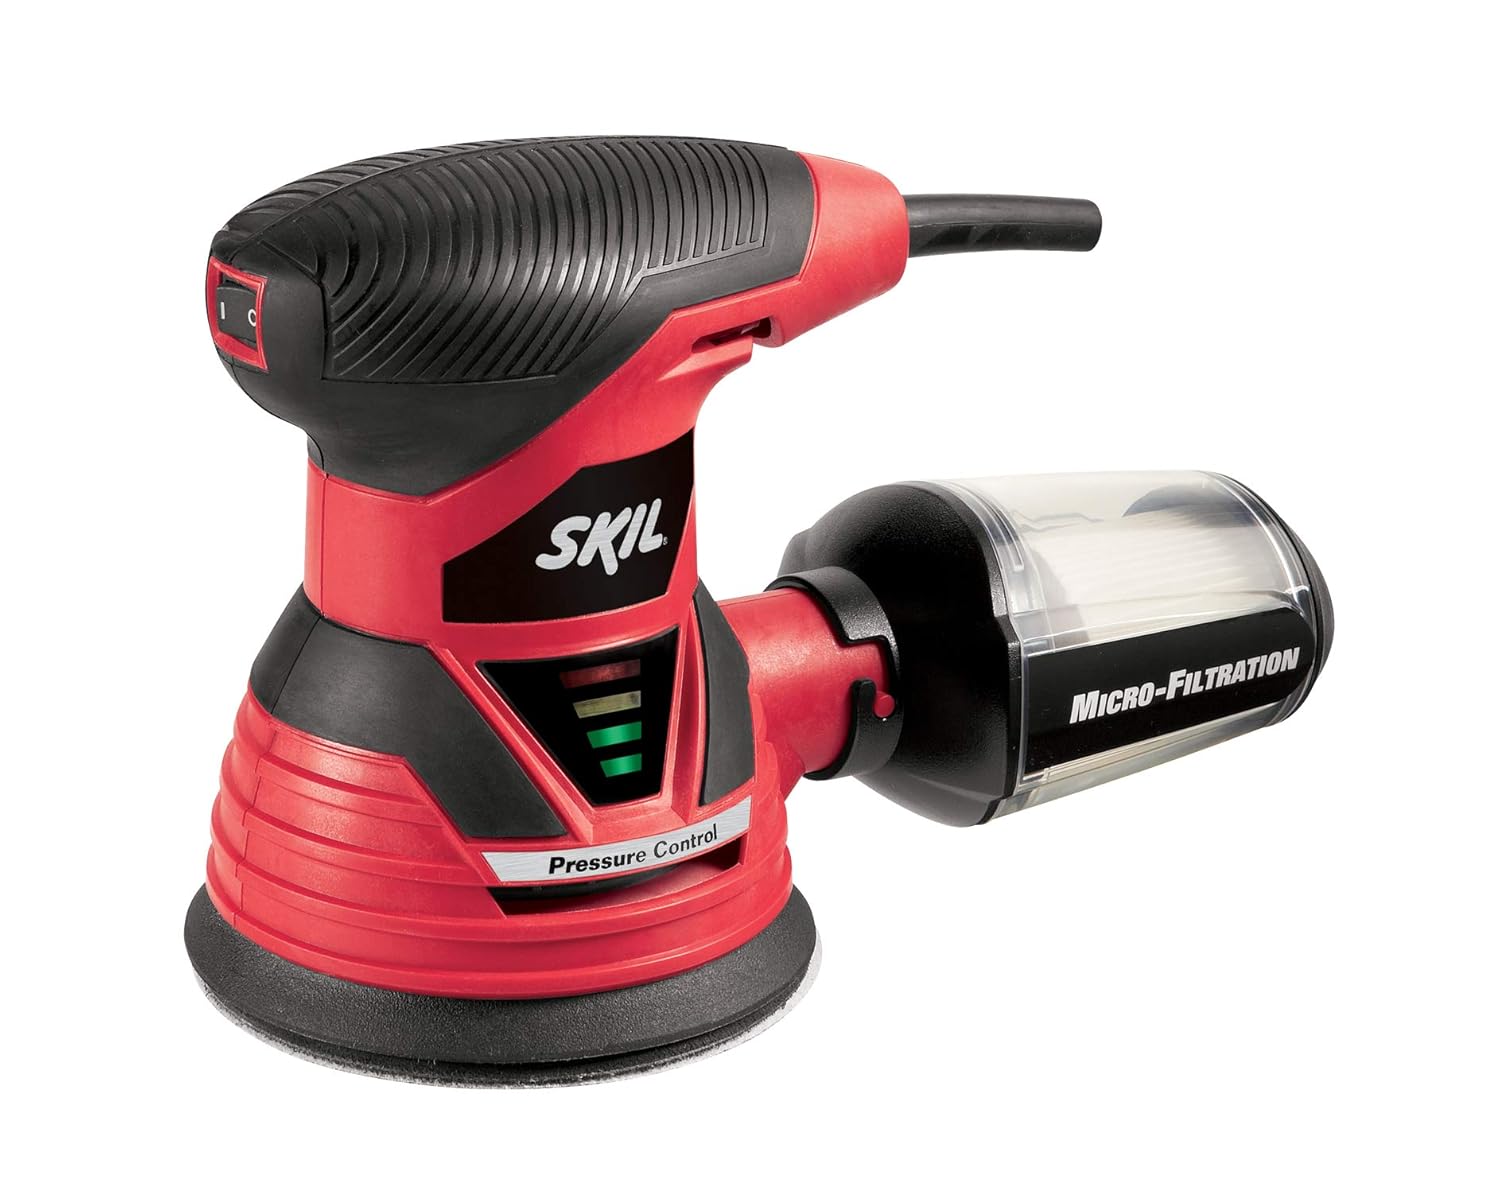
Orbital sanders are a popular choice for sanding cabinets because they are relatively inexpensive and easy to use. They work by moving the sandpaper in a circular motion, which helps to create a smooth, even finish. However, orbital sanders can leave swirl marks in the wood if they are not used properly.
Random Orbit Sanders
Random orbit sanders are similar to orbital sanders, but they have a more random pattern of movement. This helps to prevent swirl marks and creates a more consistent finish. They are also great for sanding curves and contours. Random orbit sanders are often used for sanding the final coats of paint or varnish on cabinets.
Belt Sanders
Belt sanders are powerful tools that are ideal for sanding large flat surfaces. They use a long strip of sandpaper that wraps around a rotating drum. Belt sanders are very efficient and can quickly remove a lot of material. However, they can also be difficult to control and can leave deep scratches if they are not used carefully.
Sheet Sanders
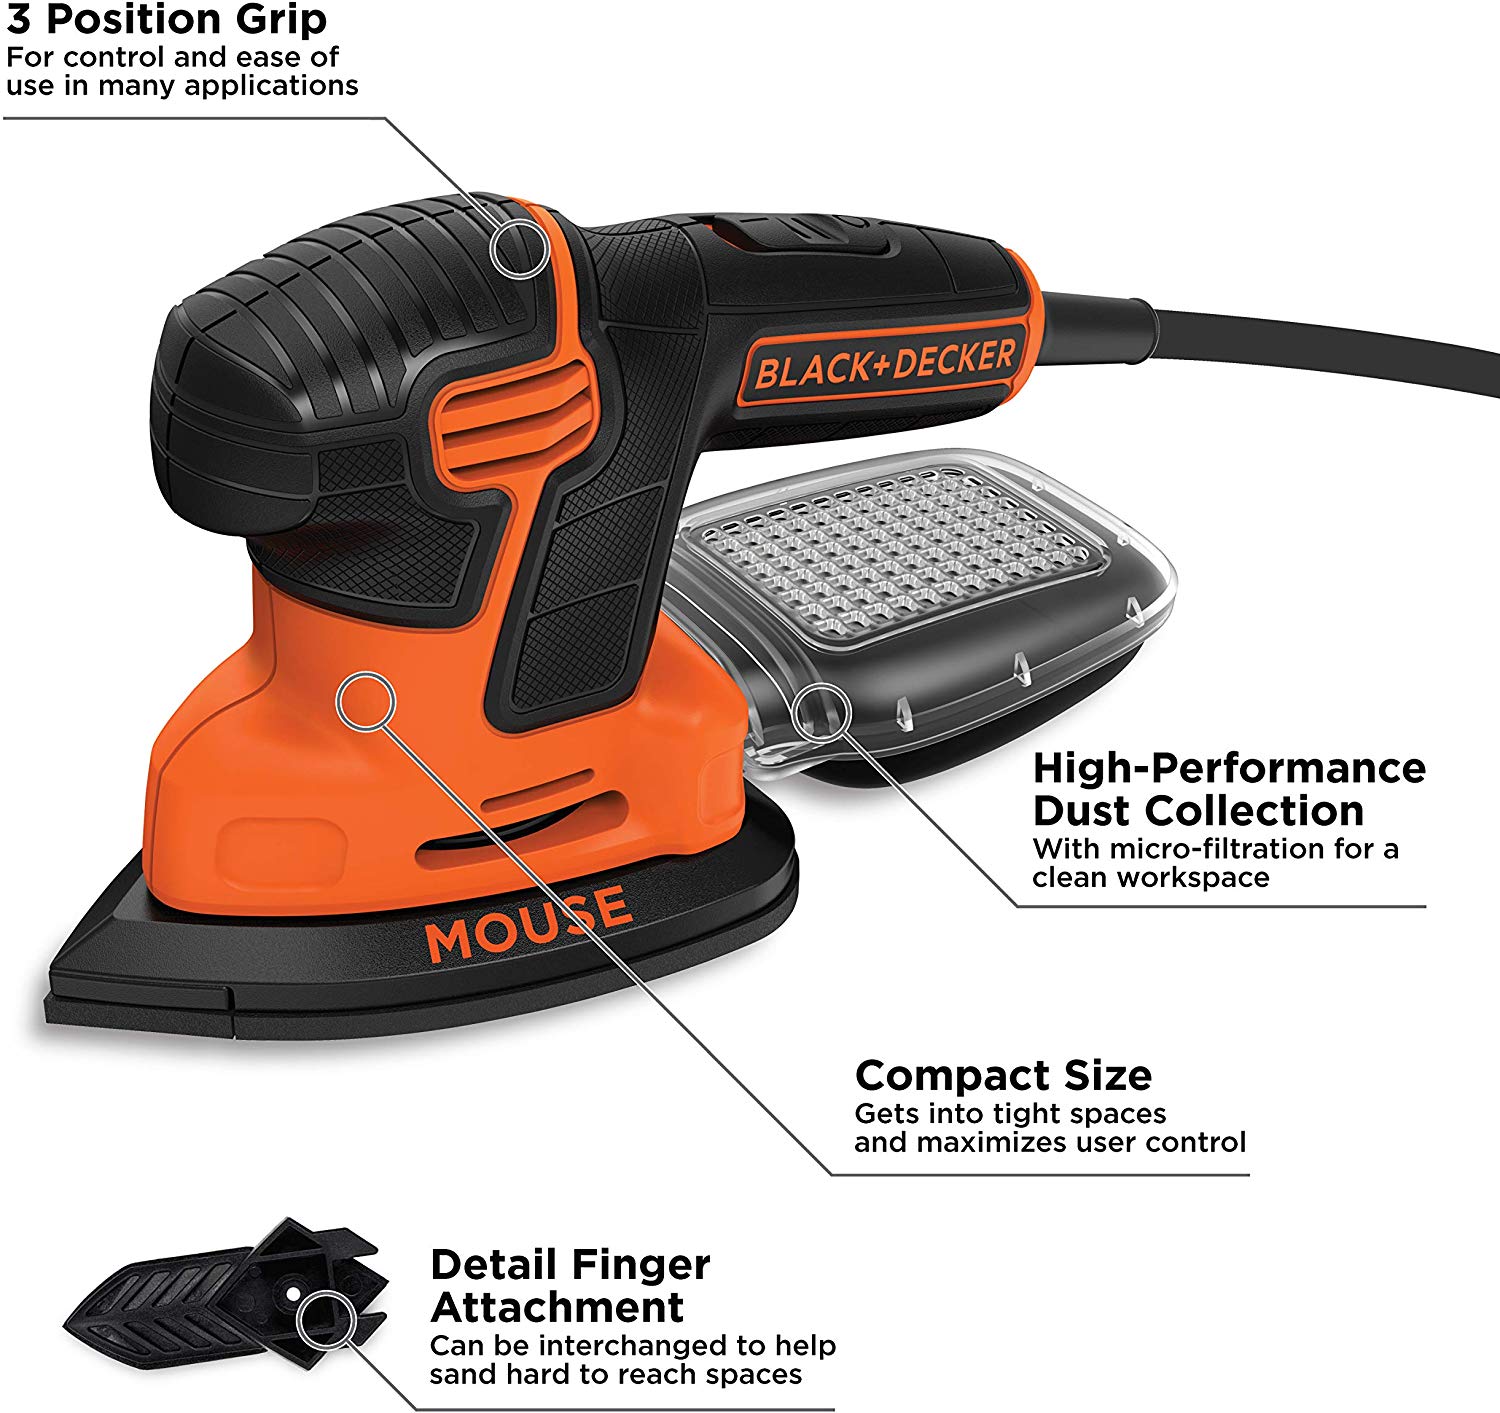
Sheet sanders are designed for sanding small areas and intricate details. They use a sheet of sandpaper that is attached to a backing plate. Sheet sanders are often used for sanding edges, corners, and other areas that are difficult to reach with other types of sanders. They are also useful for sanding delicate surfaces, such as veneers.
Factors to Consider When Choosing a Sander

Choosing the right sander for your cabinet project can be a game-changer, ensuring a smooth, flawless finish. Like choosing the right tool for the job, it’s all about finding the perfect fit for your needs. You want a sander that’s powerful enough to handle the task, comfortable to use, and helps you achieve the desired finish. Let’s break down the key factors to consider.
Grit
Grit refers to the coarseness of the sandpaper. The lower the grit number, the coarser the sandpaper, and the more material it will remove. Higher grit numbers indicate finer sandpaper, which is used for smoothing and finishing.
Here’s a breakdown of grit levels and their typical applications:
- Coarse Grit (40-80): Used for initial sanding to remove large imperfections, like scratches or gouges. Think of this as the “heavy lifting” phase.
- Medium Grit (80-120): Ideal for removing sanding marks from coarser grits and smoothing out the surface. This is the “smoothing out” phase.
- Fine Grit (120-220): Used to refine the surface and remove fine scratches. This is the “detailing” phase.
- Very Fine Grit (220-400): Used for final sanding to create a smooth, polished finish. Think of this as the “finishing touch” phase.
- Ultra Fine Grit (400+): Used for creating an extremely smooth finish, often for high-end furniture or projects requiring a mirror-like finish.
It’s important to use a progression of grits, starting with coarser grits and gradually moving to finer grits. This ensures a smooth, even finish and avoids sanding through the wood. It’s like getting your car detailed – you start with a rough wash to remove the dirt and grime, then move to a finer wash to get it sparkling clean.
Power
The power of a sander is measured in amps (A). More powerful sanders are better suited for heavy-duty sanding, such as removing thick layers of paint or sanding rough wood. Less powerful sanders are ideal for finer sanding tasks, like smoothing out surfaces or applying a final finish.
- High Power (7+ Amps): For heavy-duty sanding, like removing thick layers of paint or sanding rough wood. Think of this as the “powerhouse” of sanders.
- Medium Power (5-7 Amps): For general sanding tasks, like smoothing out surfaces or preparing for a finish. This is the “all-rounder” sander.
- Low Power (Under 5 Amps): For light sanding tasks, like smoothing out minor imperfections or applying a final finish. This is the “gentle touch” sander.
Ergonomics
Ergonomics refers to the design and comfort of the sander. A comfortable sander is essential for preventing fatigue and ensuring accurate sanding. Consider the following features:
- Weight: A lighter sander is easier to maneuver and control, especially for extended sanding sessions. Think of it like carrying a backpack – a lighter pack is more comfortable for long hikes.
- Grip: A comfortable grip is essential for reducing hand fatigue. Look for sanders with soft, rubberized grips that provide a secure hold. Think of it like a good pair of gloves – they make a difference in comfort and control.
- Balance: A well-balanced sander is easier to control and prevents it from tipping or vibrating excessively. Think of it like a good golf club – the balance makes all the difference in your swing.
Dust Collection
Dust collection is an important consideration, especially when sanding cabinets. Wood dust can be harmful to your health, and a good dust collection system will help to keep your workspace clean and your lungs healthy.
- Built-in Dust Collection: Some sanders have built-in dust collection systems, typically a bag or a port that connects to a vacuum. This is a convenient option, but the effectiveness can vary. Think of it like a built-in vacuum for your sander.
- External Dust Collection: You can also use an external dust collector, which is a separate unit that collects dust from multiple tools. This is a more effective option, but it’s also more expensive. Think of it as having a dedicated dust-busting crew for your sander.
- No Dust Collection: Some sanders don’t have any dust collection system. This is the least expensive option, but it’s also the least convenient and can create a lot of dust. Think of it as the “DIY” dust control method – not ideal, but doable.
Techniques for Sanding Cabinets

Sanding cabinets is a crucial step in achieving a professional and stunning finish. It involves removing imperfections, smoothing out surfaces, and preparing the cabinets for paint or stain. The type of sander you use and the techniques you employ play a significant role in the final outcome. Let’s dive into the nitty-gritty of sanding cabinets, using a variety of tools and techniques.
Sanding Cabinets with Different Sanders, What is the best sander for cabinets
The type of sander you use depends on the size and shape of the cabinet and the desired level of finish. Let’s break down the process for each sander:
Sanding Cabinets with a Random Orbital Sander
The random orbital sander is a popular choice for sanding cabinets due to its versatility and ease of use. Here’s a step-by-step guide for using it:
- Start with a coarse-grit sandpaper (80-120 grit) to remove any major imperfections, like scratches or dents.
- Work in sections, overlapping each pass by about 50%.
- Apply even pressure and move the sander in a circular motion. Avoid pressing too hard, as this can cause sanding marks.
- Progress to a finer grit sandpaper (150-220 grit) for a smoother finish.
- Repeat the process with progressively finer grits (240-400 grit) for a super smooth finish.
Sanding Cabinets with a Palm Sander
The palm sander is a smaller and more compact sander that is ideal for sanding tight spaces and intricate details. Follow these steps:
- Start with a coarse-grit sandpaper (80-120 grit) for removing major imperfections.
- Sand in small, overlapping circles, keeping the sander moving constantly.
- Gradually progress to finer grits (150-220 grit) and then (240-400 grit) for a smooth finish.
Sanding Cabinets with a Belt Sander
The belt sander is a powerful tool that is used for sanding large flat surfaces quickly. Use it with caution:
- Start with a coarse-grit sandpaper (80-120 grit) for removing major imperfections.
- Sand with the grain of the wood, using long, even strokes.
- Avoid pressing too hard, as this can cause sanding marks.
- Progress to finer grits (150-220 grit) and then (240-400 grit) for a smooth finish.
Sanding Cabinets with a Detail Sander
The detail sander is a small and maneuverable sander that is perfect for sanding edges, corners, and other intricate details. Here’s how to use it:
- Start with a coarse-grit sandpaper (80-120 grit) for removing major imperfections.
- Sand gently and carefully, following the contours of the surface.
- Progress to finer grits (150-220 grit) and then (240-400 grit) for a smooth finish.
Sanding Techniques for Cabinets
Mastering sanding techniques is essential for achieving a professional finish. Here’s a breakdown of techniques for different areas of your cabinets:
Sanding Edges and Corners
Sanding edges and corners requires a delicate touch to avoid rounding them off. Here’s how to do it:
- Use a detail sander or a sanding block wrapped in sandpaper.
- Sand gently and carefully, following the contours of the edge or corner.
- Avoid pressing too hard, as this can cause rounding.
- Sand with the grain of the wood to avoid creating sanding marks.
Sanding Flat Surfaces
Sanding flat surfaces is relatively straightforward. Here’s how to do it:
- Use a random orbital sander or a belt sander for large flat surfaces.
- Sand in sections, overlapping each pass by about 50%.
- Apply even pressure and move the sander in a circular motion.
- Avoid pressing too hard, as this can cause sanding marks.
Tips and Tricks for Sanding Cabinets
Here are some handy tips and tricks to make your cabinet sanding experience smoother:
- Always sand with the grain of the wood. Sanding against the grain can create sanding marks that are difficult to remove.
- Use a dust mask and eye protection. Sanding creates a lot of dust, which can be harmful to your health.
- Work in a well-ventilated area. Sanding dust can accumulate quickly, so it’s important to work in a well-ventilated area.
- Clean the sanding dust frequently. Dust can clog up your sander and create sanding marks.
- Start with a coarse grit sandpaper and gradually progress to finer grits. This will help you remove imperfections and achieve a smooth finish.
- Use a sanding block for edges and corners. A sanding block will help you sand these areas evenly and avoid rounding them off.
- Don’t be afraid to experiment. There are many different sanding techniques, so don’t be afraid to experiment until you find what works best for you.
Best Sander for Each Cabinet Sanding Task
Here’s a table showcasing the best sander for each specific cabinet sanding task:
| Task | Best Sander | Sanding large flat surfaces | Belt sander | Sanding edges and corners | Detail sander | Sanding intricate details | Palm sander | Sanding overall cabinet surface | Random orbital sander |
|---|
What is the best sander for cabinets – Choosing the right sander for your cabinets can be a game-changer, just like figuring out the best size TV for your one-bedroom apartment can make your living space feel more inviting. Consider the size of your cabinets, the type of wood, and the desired finish when selecting your sander, ensuring a smooth and professional outcome for your project.
Choosing the right sander for your cabinets is crucial for achieving a smooth, professional finish. While you’re focused on the perfect sanding technique, remember to prioritize safety for your little ones. Installing best child safety cabinet locks will provide peace of mind while you work on those cabinets, knowing that your curious explorers are kept safe.
Once the sanding is done, you’ll have beautiful cabinets that are both functional and secure.
